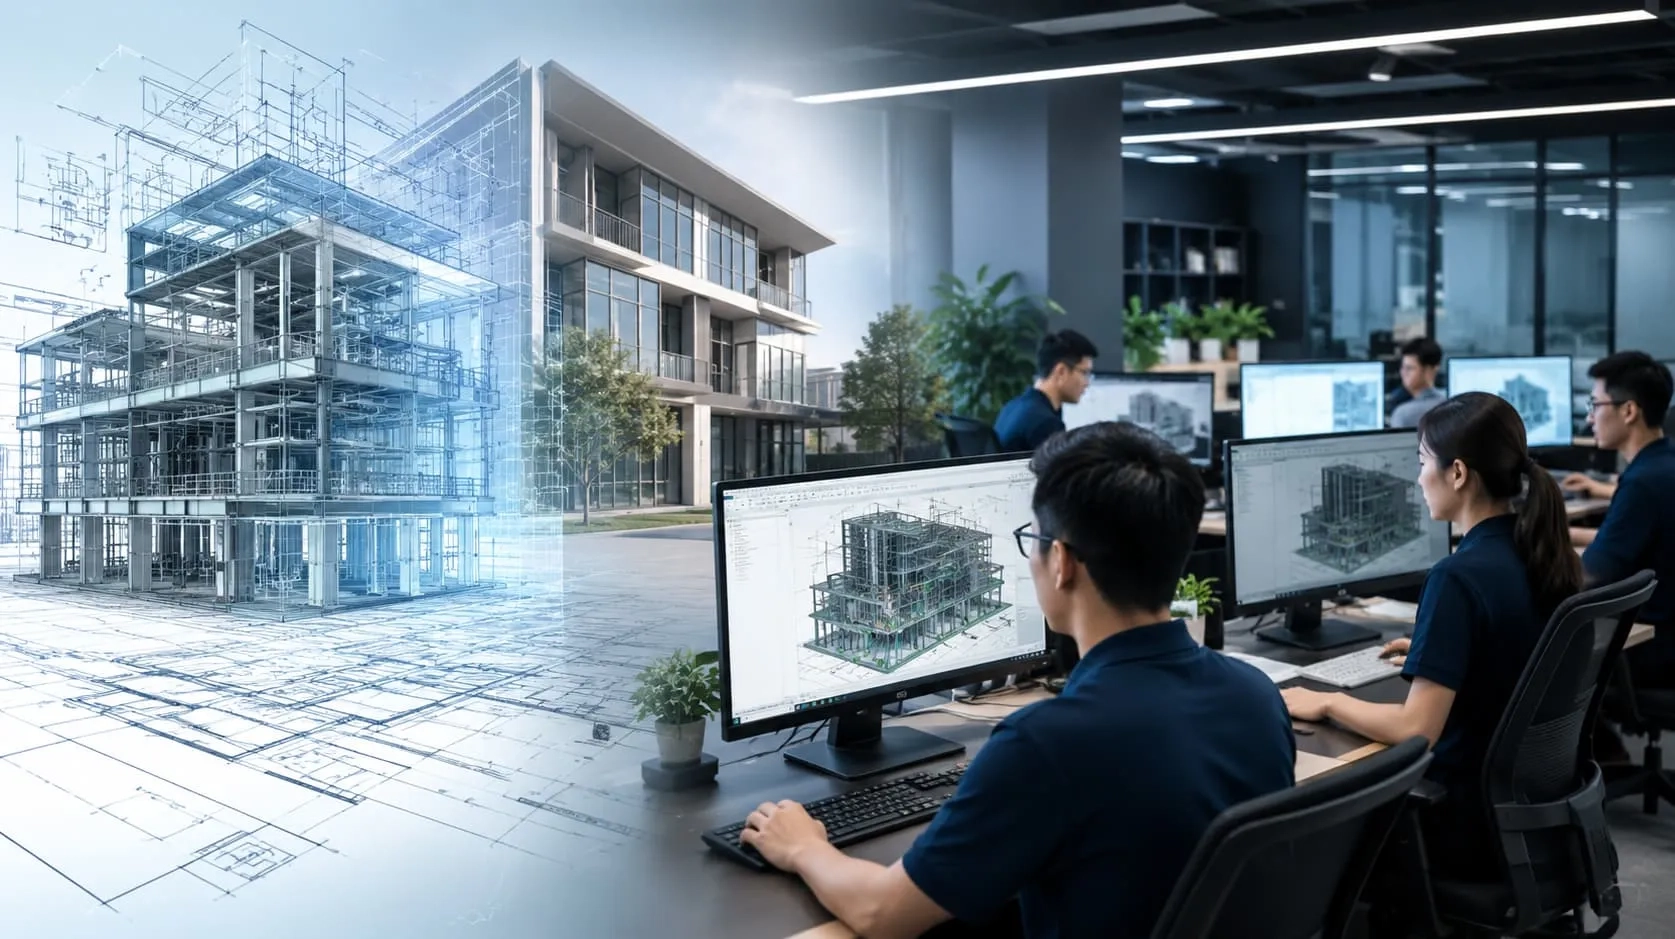
Welcome to "The Complete Guide to Revit Design Options." When it comes to designing buildings using Revit software, there's a special tool called Design Options. It helps architects and designers be more creative and flexible.
In this guide, we'll show you how to use Revit Design Options step by step. Whether you're new to Revit or already know a bit, this guide will help you understand and use Design Options better. Let's start learning how to use this tool to make your architectural designs even better.
What is the “Revit Design Option” Feature?
The "design option" feature within Revit serves as a tool that enables users to generate and assess diverse design alternatives within a single project file. This proves valuable when you wish to explore various design methods or when you need to present multiple choices to a client.
To utilize the "Design Option" function in Revit, you should initially open your project and locate the "Revit Design Option" tab in the ribbon. From there, you can initiate a new design option by clicking the "Create Design Option" button. When you establish a new design option, you have the option to assign it a name and include a description if desired.
Once you've established a design option, you're free to adjust the model as necessary to match that specific design choice. These adjustments may involve altering elements, adding or removing elements, or modifying element characteristics. When you've completed these modifications, simply click the "Finish Design Option" button to save your changes and return to the "Design Option" tab.
You can repeat this procedure to generate more design options as required. To compare the various design alternatives, utilize the "Design Option" tab in the ribbon to switch between options and observe their distinctions. This can be quite beneficial when determining which option best suits your project.
Besides making and comparing design choices, the "Revit Design Option" tool lets you do more things. You can put two choices together, get rid of choices, or pick one as the main one. To put two choices together, pick both in the "Design Option" tab and press "Merge Options." That makes one choice with all the changes from both choices put together.
To get rid of a design choice, choose it in the "Design Option" tab and press the "Delete Option" button. This will take the choice out of the project for good.
Lastly, you can choose one design choice to be the main one in the project. To do that, pick the choice in the "Revit Design Option" tab and click "Set as Default." When you do this, that choice will be what you see when you open the project.

Read more: Step By Step To Hide Or Unhide Elements In Revit
Why do you need Revit Design Options?
You need Revit Design Options because they help architects and designers try out different designs in one project. This makes it easier to choose the best design and adapt to client needs or project limitations. They also make it simpler to manage design changes and improve design ideas.
How to Create Revit Design Options?
To make a new design choice in Revit, do the following:
- Open your Revit project and go to the "Design Option" tab.
- Click "Create Design Option" to start a new design choice.
- In the "Create Design Option" box, type a name for your choice in the "Name" box. This name will be used to recognize the choice in Revit.
- If you want, you can write a description of the choice in the "Description" box. This helps provide more information about the choice or tell them apart if you have many.
- Press "OK" to create the choice.
- Change the model as needed to match the choice. You can adjust elements, add or remove them, or change their properties.
- When you finish making changes, click "Finish Design Option" to save and go back to the "Design Option" tab.
That's it! You've now made a new design choice in Revit. You can do this again to create more choices. To compare them, use the "Design Option" tab to switch between them and see how they are different.

How to Change Revit Design Options?
To change a design choice in Revit
- Click on the "Design Option" tab in the menu.
- Pick the design choice you want to adjust from the list.
- Modify the model to match the design choice. You can change things, add new stuff, or remove things as required.
To change something about an object
- Click on the object you want to change.
- In the "Properties" panel, adjust the object's properties. This could mean altering its size, shape, color, or material, among other things.
- If the object has more settings to tweak, click the "Edit Type" button in the "Properties" panel. This opens a box called "Type Properties," where you can make further adjustments to the object's settings.
To put elements
- Press the "Add" button on the menu and pick the kind of thing you want (like a wall, door, or window).
- Follow the instructions to position the thing in your model.
- Change the thing's qualities how you like, using the methods mentioned earlier.
To edit elements
- Click on the thing you want to remove.
- Hit the "Delete" key on your keyboard, or click the "Delete" button in the menu.
- When you're done with your changes, click the "Finish Design Option" button to save them and go back to the "Design Option" tab.
To adjust how elements look
- Pick the thing you want to change.
- In the "Properties" section, you can alter how the thing works. You can make it bigger, change its shape, color, or what it's made of.
- If the thing has extra settings, click the "Edit Type" button in the "Properties" part. This will open a box called "Type Properties," where you can tweak more settings.
- Press "OK" to save your changes and close the "Type Properties" box.
Merging, Deleting, And Setting Default Options
Aside from making and comparing design choices, the "Design Option" function in Revit also enables you to merge, remove, or establish a primary design option. Below are instructions on how to utilize these functions in Revit:
To merge design choices
- Open your Revit project and go to the "Design Option" section in the menu.
- In the "Design Option" part, pick the design choices you want to combine. You can choose several by holding down the "Ctrl" or "Shift" key and clicking.
- Click the "Merge Options" button to blend these chosen choices into one.
- In the "Merge Options" box, you can decide how to deal with differences between the choices. For instance, you can keep all changes from both choices or only pick changes from one.
- Click "OK" to confirm the merging settings and create the merged choice.
To remove a design choice
- Open your Revit project and go to the "Design Option" section in the menu.
- In the "Design Option" part, pick the design choice you wish to get rid of.
- Click the "Delete Option" button to permanently erase this choice from your project.
To set a default design option
- Open your Revit project and go to the "Design Option" section in the menu.
- In the "Design Option" part, pick the design choice you want as the main one.
- Click the "Set as Default" button to make this choice the primary option for your project.
With these tools, you can easily handle different design choices in a Revit project. The "Merge Options" function is handy when you want to bring together changes from various design options into one. Meanwhile, the "Delete Option" and "Set as Default" functions help you maintain project order and ensure you're using the latest design version.
Unlock the Power of Precision with Harmony Advanced Technologies!
🌐 With over 20 years of global experience, we've been your trusted partner in BIM/CIM modeling. Our experts have supported projects in countries like Germany, Japan, and beyond.
💻 Our seasoned BIM/CIM consultants harness cutting-edge software to craft comprehensive digital models of your projects. These models pack in-depth details about architectural, structural, MEP, and facade components, including geometry, material estimates, and vital data.
🛠️ Experience the benefits: reduce errors, enhance team communication, and empower your business with informed decisions.
Ready to transform your projects? Let's connect! Head to our contact page here and drop us a message. We're here to bring your visions to life!
Categories